CS527
- Computer Animation - Fall 2006
Project 1 - A 60 Second animation
sequence in Anim8or
Anim8or - Tutorials
a. The Eggplant Tutorial (Week 1)
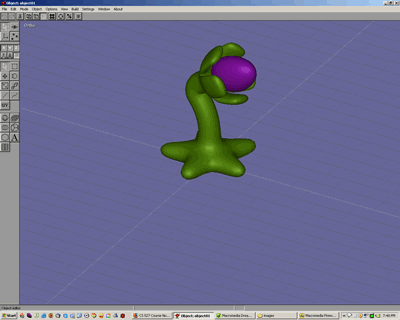
The eggplant starts with a pentagon which is extruded in the y-axis. Over this
base, a fraction of the top face is scaled down to the size of the required
stem and extruded to the required height. Then comes the "calyx" of
the eggplant, which is an extrusion of the 5 faces of the stem excluding the
top and bottom face. The extruded calyx is then rotated to face the Y axis twice
and an outline of the plant stem is done. Next, the stem is modified to reflect
a bent stem using the "bend" modifier. Finally, the sphere with its
curvature modified using the "curvature" modifier is added to the
plant to complete the eggplant. Materials are defined to make the eggplant look
ike one.

Fig 1. Finished egg plant
b. The simple walk tutorial(Week 1 & 2)
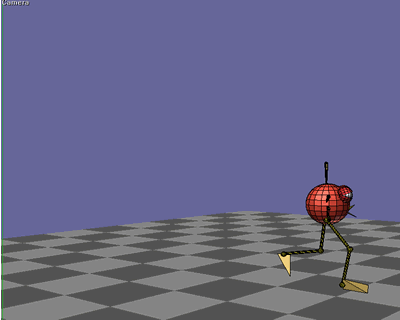
Fig 2. Birdy doing a walk in the camera viewpoint
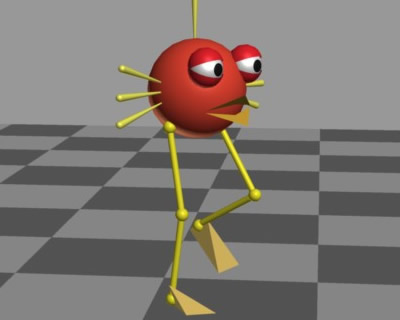
Fig 3. Birdy rendered in 1280 X 1024 resolution
I called the wierd red headed ave, birdy. I got the walking cylcle to work. Here is the video that I rendered primarily. As you can see there are some noticeable differences between the bird in the tutorial and my bird.. I have longer legs in my bird, feathers sticking out a bit when compared to the reference model and the toe is pretty big.
c. My Storyboard(Week 2)
New character : "Engineer Eggy"
Characteristics: Hard hat,
safety boots
Stage: High up a construction
site in a steel beam.
The Storyboard as a Animated GIF file
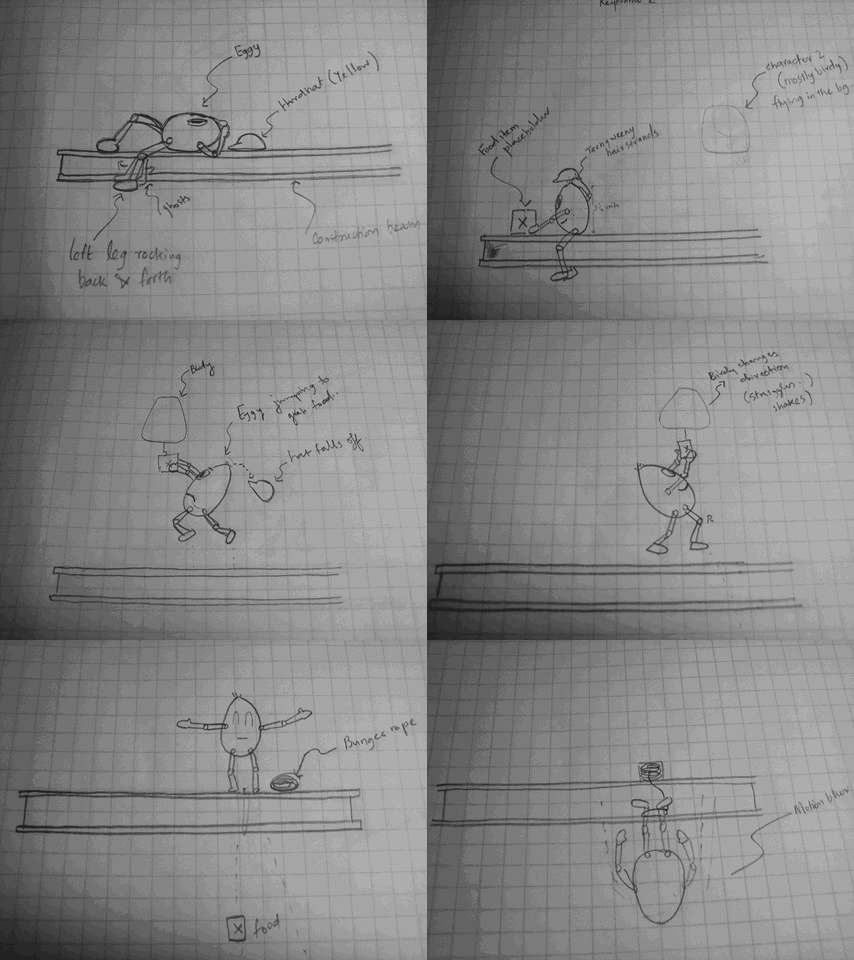
Simple Storyline
Eggy dozes on top of a construction beam - Has a lunch box in front - Birdy flies by and picks up Eggy's Lunch - How does Eggy retrieve his lunch? - That's the rest of the story. (Has some decent action sequences..)
My Experiments With Initial Stages Of Eggy
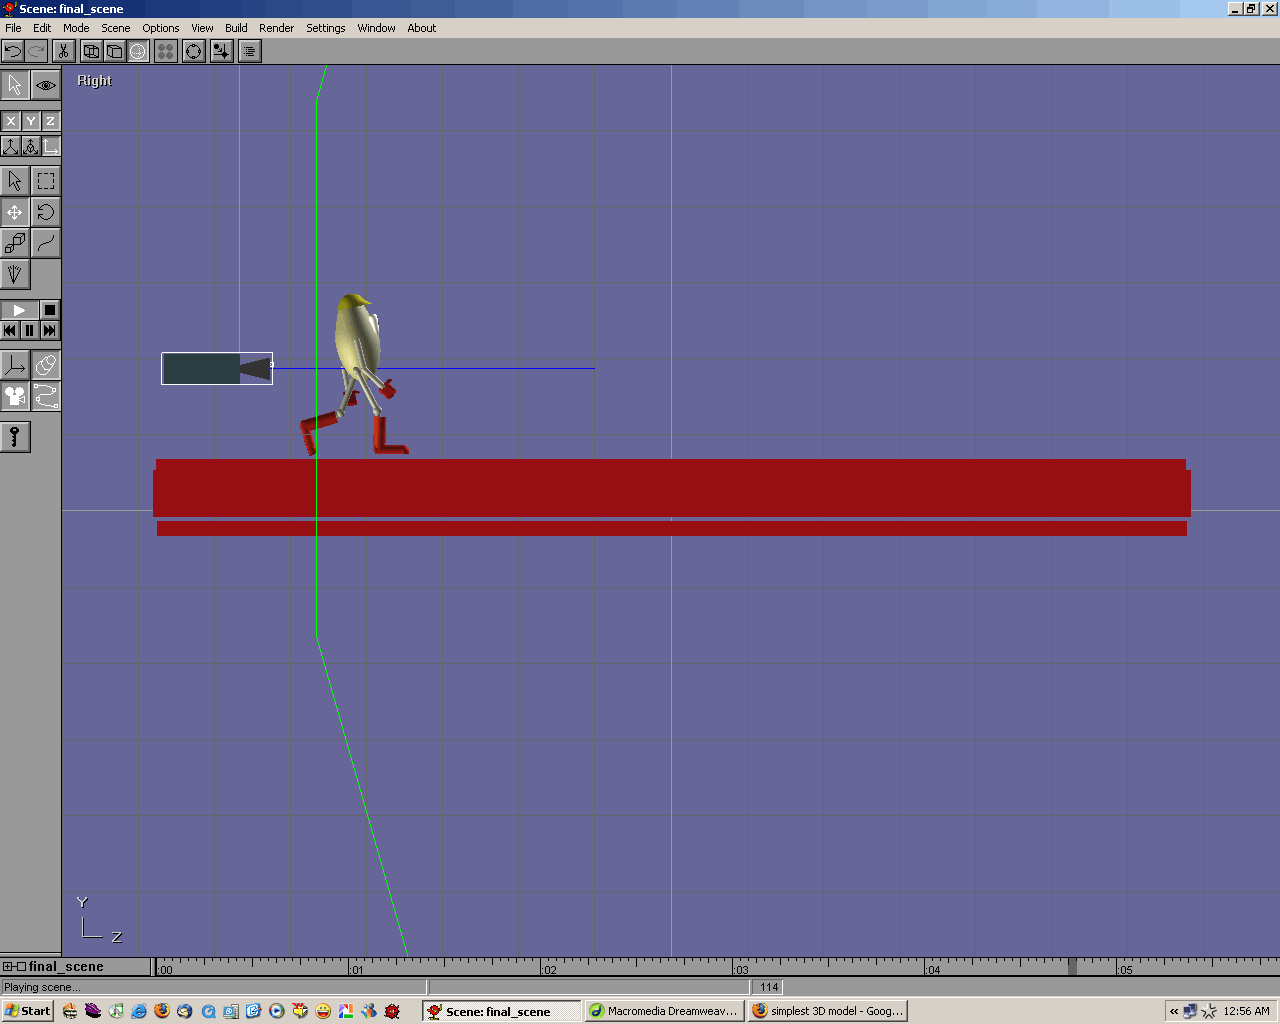
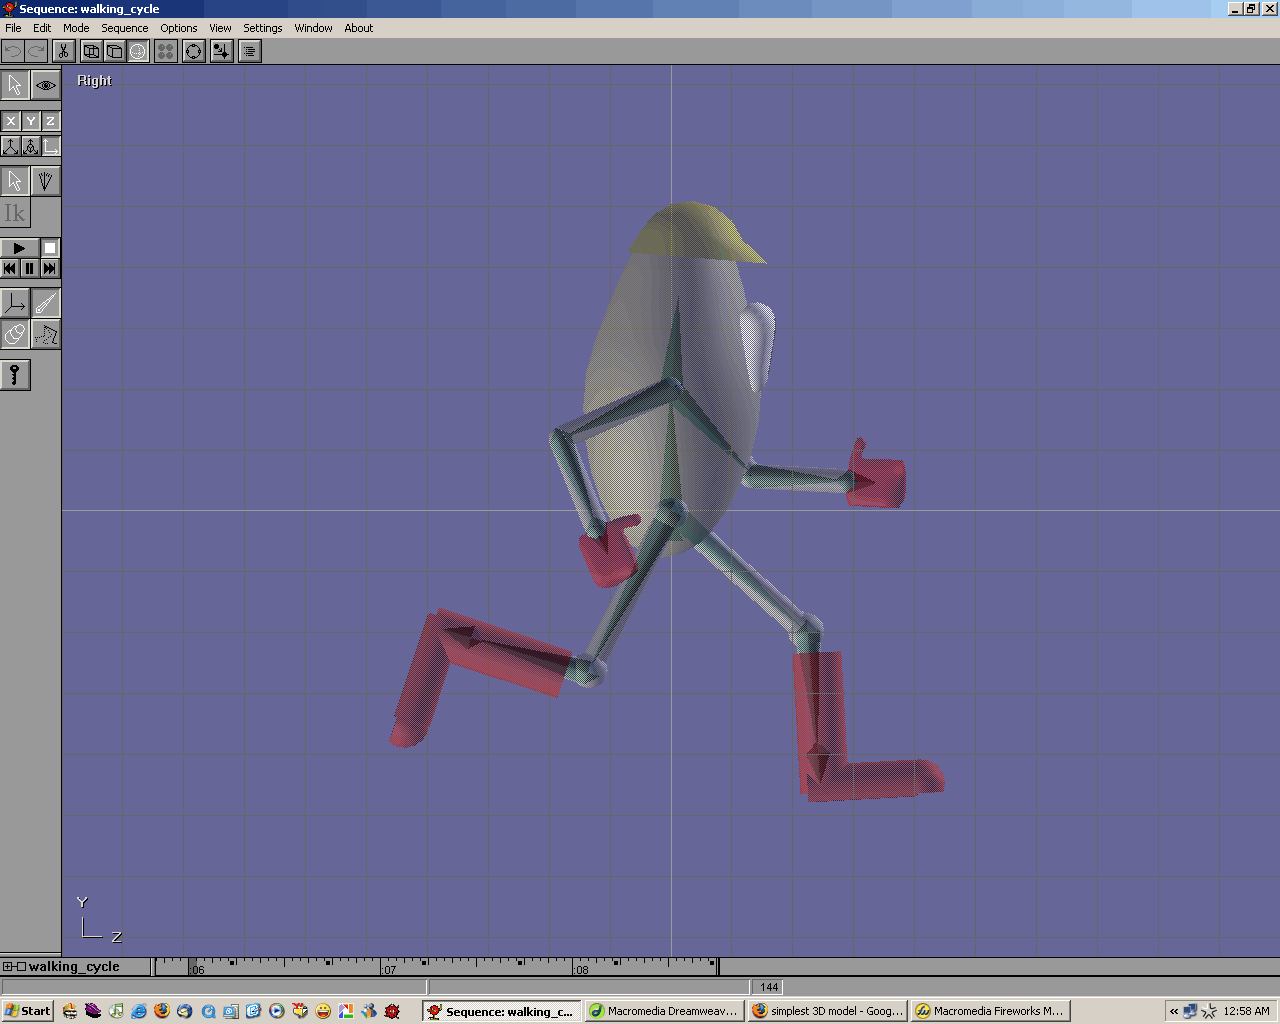
Fig 3. Scene with Eggy walking a beam Fig 4. Sequence editing where hands, body & legs move.
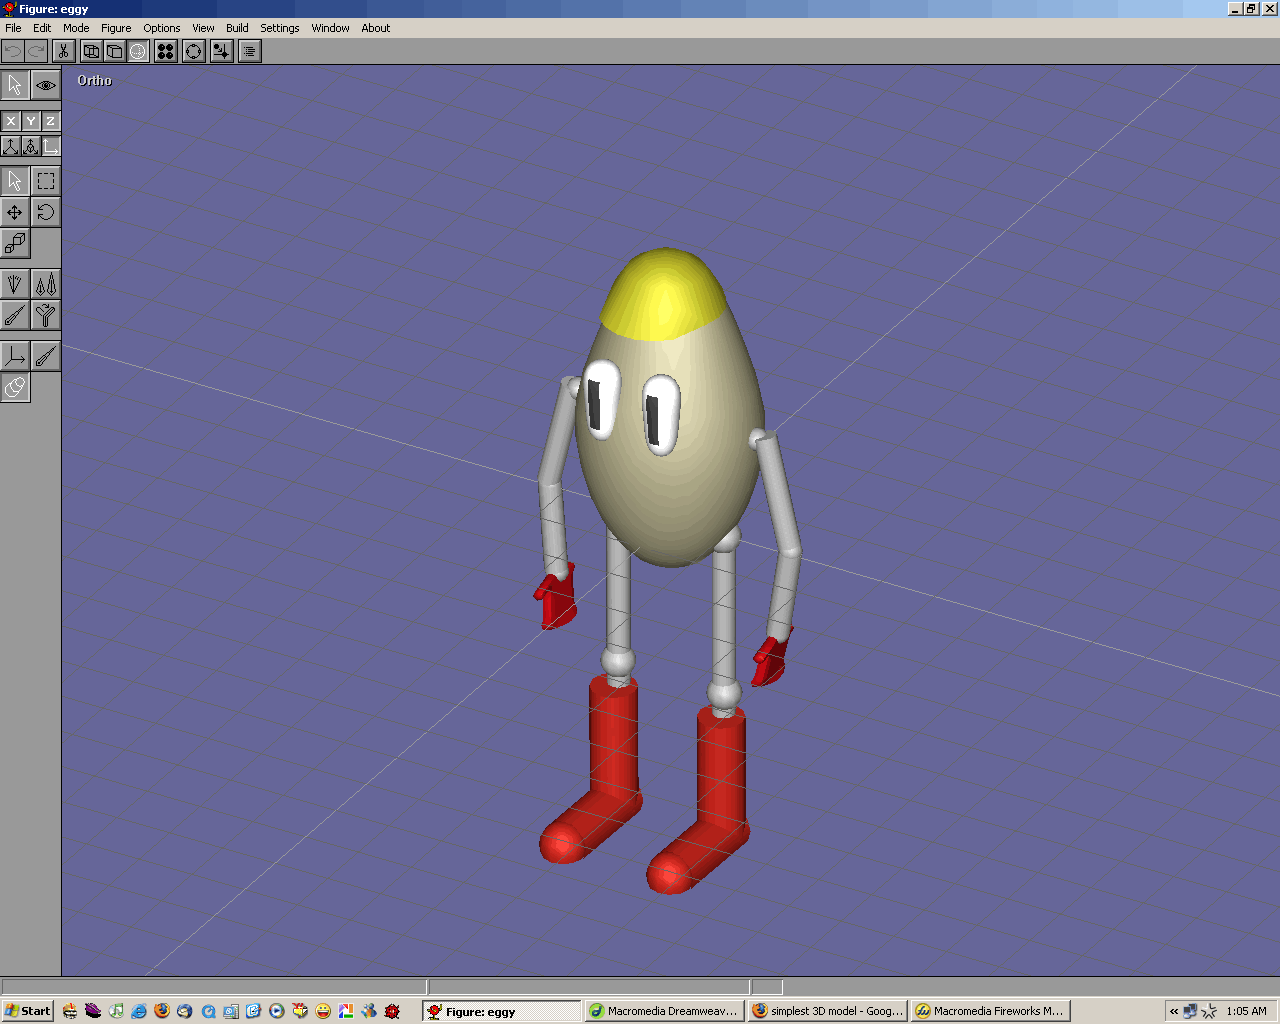
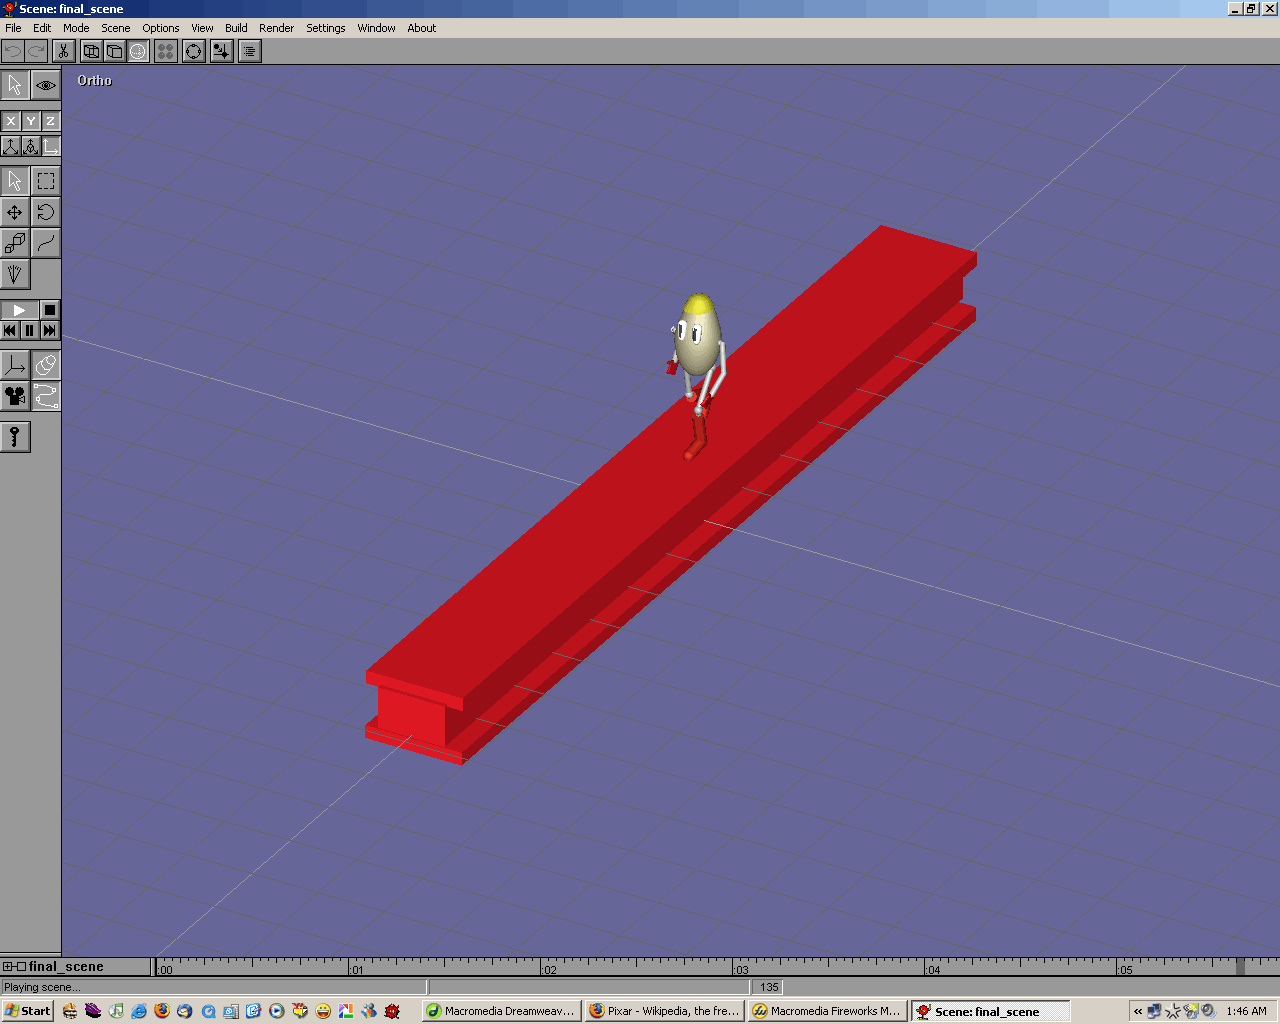
Fig 5. Eggy Looking on (Figure editing) Fig 6. A capture of the scene in orthographic projection
d. 1440 Frames of Patience (Week 2 & 3)
Step 1 - Do the Eggy Sequence
All the animations involving the main character was done patiently, in some cases acting out the scene. All the 1440 frames were directed using key-frames wherever appropriate.
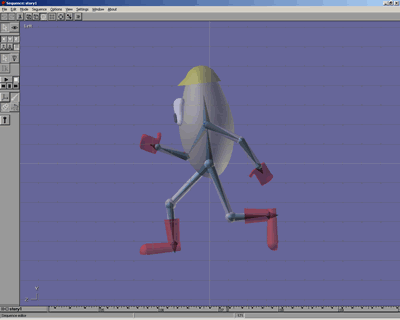
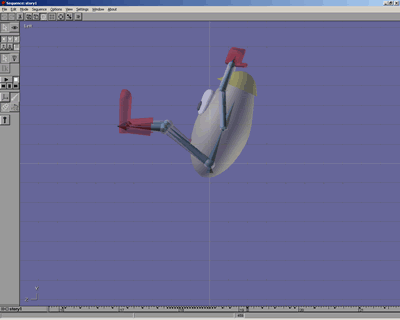
Fig 7.Eggy Running Fig 8.Eggy grabbing on to something
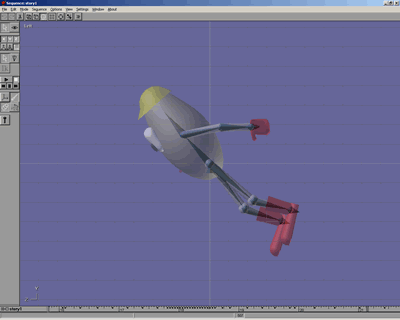
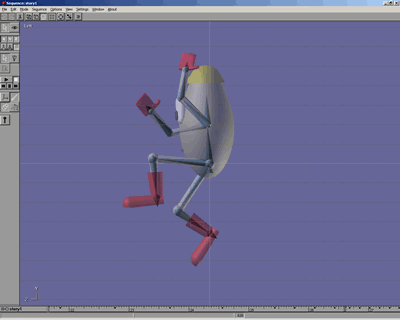
Fig 9.Eggy Jumping off something Fig 10. Eggy Climbing
Step 2 - Birdy undergoes modification
The bird that was done in the simple walk animation tutorial donated some of its objects to the bird that was part of this animation. The wings and legs were new. And, the only sequence for the bird is 40 frames of flying animation that is repeated over time in the final scene.
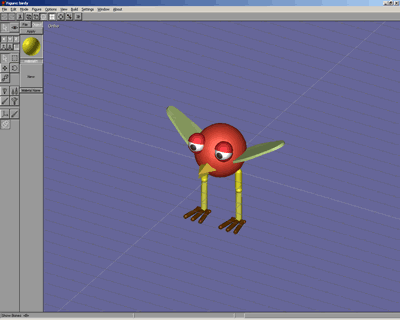
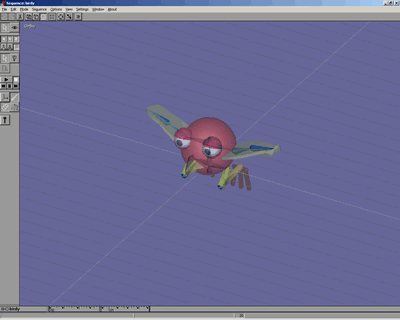
Fig 11. Birdy Model (Modified) Fig 12. Birdy Flying sequence
Step 3 - Other objects
The red construction beam and the lunch box(transparent) with a burger in it are the other important objects in the scene. Apart from these there is a rope bundle to hint the viewer about things to come. Apart from interacting with the characters, they don't do much.
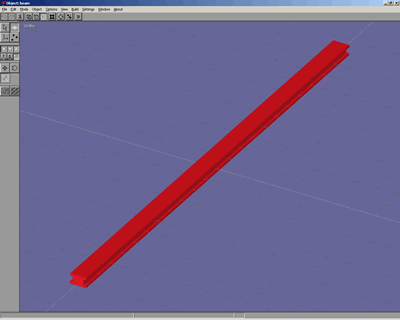
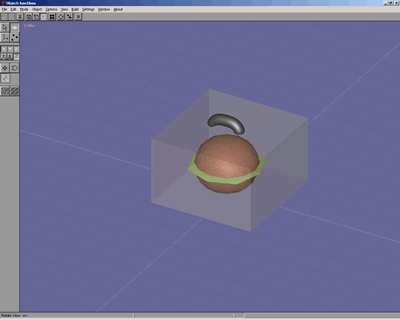
Fig 13. The construction beam Fig 14. Lunch box with burger
Step 4 - The scene
The scene starts with adding the eggy sequence(since all the required actions are already ready). Then, according to the frames the motion is adjusted by hand. Examples of overshooting problems experienced when we "slow in / slow out" between frames can be seen while animating Eggy's running, standing up, jumping sequences. In John Lasseter's paper on the basic principles of animation he explains the problem of overshooting of spline paths (pg.41, Fig 10b). This is solved by adding keyframes that correct the path of the object in between the original keyframes. The storyboard helps with improving the speed at which the scene animation proceeds. But, since 1440 frames need to be directed, scenes that originally were not part of the storyboard made it into the final cut. Certain sequences needed a lot of planning before keyframe editing since they could alter the way the other parts of the scene. Some sequences, orginally thought possible had to be scrapped either because it was almost impossible to do within the timeframe or was just plain impossible with the given resources. In this scene, priority was given to the motion of characters. Final glitches that were noticeable were painstakingly adjusted frame-by-frame. Some that were noticeable only if people watched the animation frame-by-frame were kept in. The rope sequence especially took a long time to plan and execute. Even then the end result has a fake dynamics animation on the ropes and is not physically correct. I took some general ideas from this paper :
Barzel R. Faking Dynamics of Ropes and Springs, IEEE Computer Graphics and Applications 17(3) , May-June 1997, pp. 31-39.
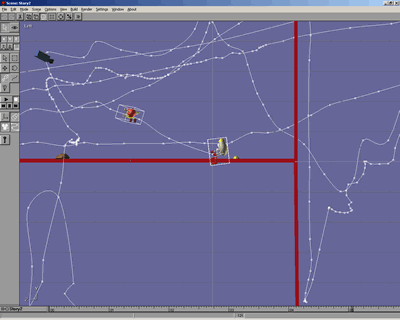
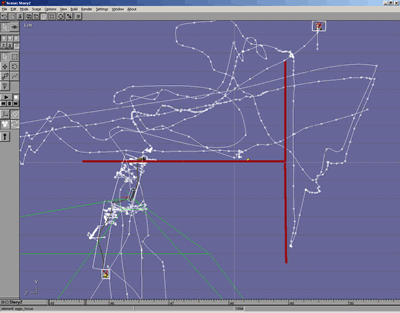
Fig 15. Birdy stealing Eggy's Food Fig 16. Eggy doing the bungee
Step 5 - The ropes
Once the main story was over, for the bungee sequence I spent around 2 days. First considering the options,
1. A long rope object
that has several bones and animated over time.
2. Short rope objects that fall and animate randomly for the final long rope
object.
3. Do a different sequence!
My first try : 2nd
Option --- Rope <> 12 bones <> simple_wave animation of 40
frames
Eventhough this was the final option that I chose, I wasn't fully satisfied
with this option. This involved first creating a waving sequence of the rope
segements. Then each rope was made visible as Eggy did the bungee. This results
in disjoint rope segments. But a trick was used to make it look (if not right..)
okay. In the camera view the rope segements were attached to each other segment
that was in view of the camera. Since, this idea didn't strike me in the beginning,
I had to try out my third option of doing a different sequence.
My Second try : 3rd
Option --- More beams <> Eggy just jumping grabbing hold of a lower beam
This sequence was easier to do but was not satisfactory enough. So, I went back
to doing disjoint rope figures dangling in the air rather than a jump, grab,
climb up the beam thingy.
I did not try the 1st Option at all..
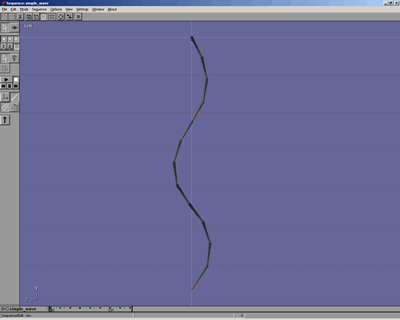
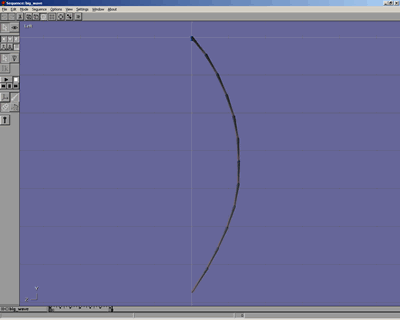
Fig 17. The rope segment as 12 different objects Fig 18. Part of a simple waving sequence for the rope
THE FINAL ANIMATION
Arunan
Rabindran
CS527 - Project 1
Fall 2006
QUESTIONS (after the presentation)
Dmitry N. Svistyulya
Q: It looked like your rope was increasing in length - was it constant or not - if not, how was that done?
Yeah, it actually looked like the rope increased in length because, I made the rope objects visible only when Eggy reached that appropriate height. The rope objects start the wave sequence and I stitched the rope together in the Camera Angle so that it looked right. If you viewed the animation in any other angle, you will notice the ropes being disjoint.